
A useful gap earns its place
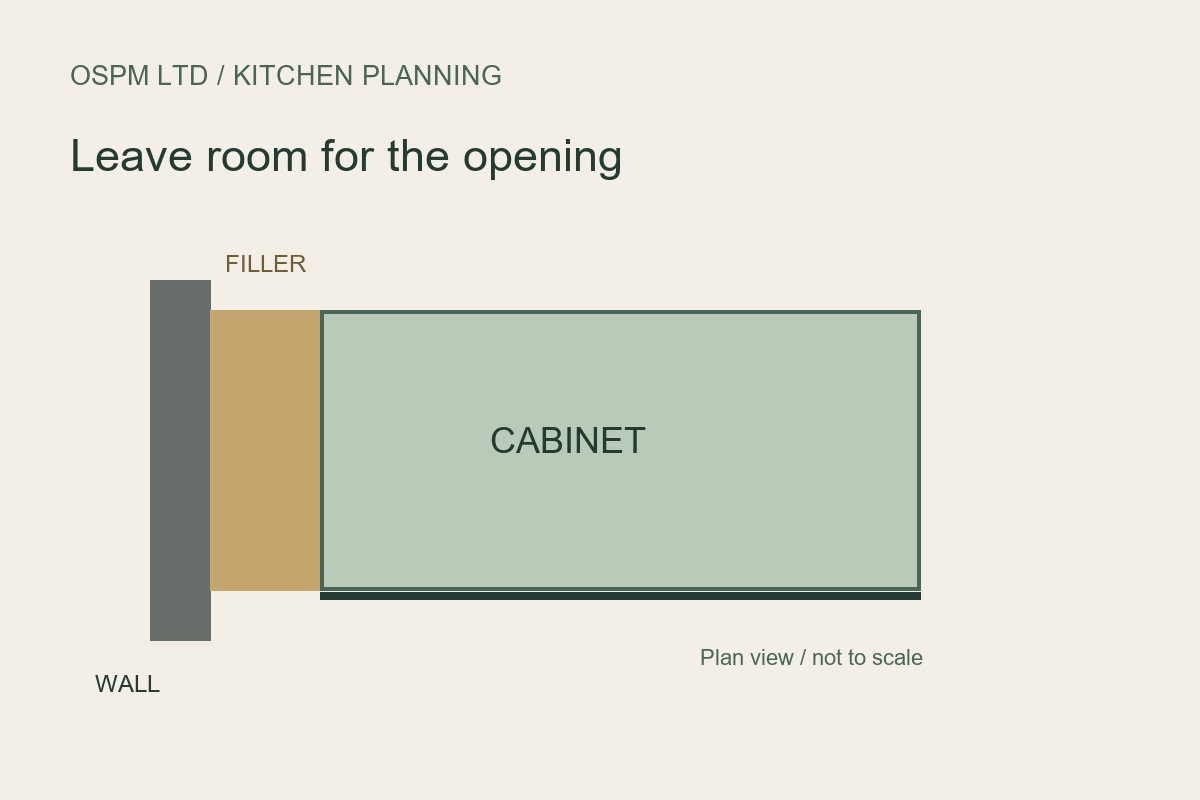
A kitchen drawing can look satisfyingly full when cabinets reach from wall to wall. But the last door or drawer still needs to open. A filler panel can provide deliberate clearance rather than simply hide leftover space.
Before approving a kitchen order, ask the designer to show the fillers, end panels and opening movements on the plan. They belong in the design and parts list from the start.
Check the wall end with the front open
The cabinet width is only one part of the fit. Look at the chosen door, hinge and handle together, then check what happens as the front opens beside a wall. For a drawer, consider the whole travel and anything that projects into its path.
IKEA’s UK kitchen planning guide recommends a minimum 50 mm filler between its base or wall cabinets and a wall so doors and drawers can open fully. That is IKEA’s planning recommendation, not a universal allowance for every kitchen. Have your supplier confirm the clearance needed for the actual range, fittings and room.
A narrower filler is not automatically a better use of the space if it prevents the storage beside it from working properly.
Measure the obstacles as well as the room
Include projecting window sills, radiators, door frames and other fixed features in the measured drawing. IKEA’s measuring guidance also asks customers to record projections such as radiators and window sills. A wall length on its own cannot show those potential clashes.
Consider a hypothetical kitchen in Earlsfield where the final drawer unit sits beside a return wall with a projecting sill. Before ordering, the useful question is whether that specific drawer can clear the sill through its intended opening. The answer may affect the filler, cabinet position or layout. This is a planning example, not an OSPM project.
Agree the visible finish
Ask which material will form the filler, how it will match the fronts and where its edge will sit. Check the difference between a filler and a visible end panel on your supplier’s drawing; do not assume one ordered panel will cover every finishing requirement.
For a refurbishment, also confirm the wall finish that the kitchen will meet. If plastering or lining is still planned, agree who will check the finished dimensions before the order is released.
Put the details in the installation brief
Before buying, obtain a final drawing and parts list that identify:
- the required fillers and matching panels;
- the chosen handles, hinges and drawer fittings;
- the opening check beside walls and projections;
- who measures, supplies, cuts and fits the finishing pieces;
- how any unresolved dimensions will be confirmed.
Read our kitchen delivery and order checklist alongside this guide. You can also explore OSPM’s refurbishment services.
Planning a kitchen in South West London? Tell us about your project with your postcode and supplier’s drawing, including the wall ends. A complete fitting brief makes the small finishing details easier to agree.
Have a project in mind?
Send OSPM your postcode, a description of the work and your preferred timing.
Tell us about your property